When I said I wanted to go back to the beginning and revisit older techniques, I didn’t realise how far back I’d end up going! It must be at least 2 decades since I last played with this technique, it’s shocking how much time flies!
Tissue Paper bleeding is a fantastic way of creating multicolour backgrounds, what I love about it best of all is that its totally random and you have no real control over the end result. It’s like waiting for magic to happen!
To kick us off with this technique I’m going to first go through the original version of the technique and then at the end I’m going to add my Technique Make Over Tips.
Traditional Method
Items Required For This Technique:
- Coloured Tissue Paper –
For this technique you need the cheap coloured tissue paper, don’t buy the acid free varieties because they are bleed proof. I bought mine from the children’s craft aisle, the brand is graphix, it comes in very bright vibrant colours.
Before I began I tore a big box full of tissue paper in a variety of sizes so that I had pieces to grab and go with when I was experimenting with this technique.
- Spray Bottle Of Water –
The other item you’ll need is a spray bottle full of water, you can use the garden type sprayers as you want to be generous with the water application.
- Several Sheets Of White Card Stock –
It doesn’t really matter what type or colour of card stock or paper you use; obviously white is going to give you the better results but there is no rules which state you have to use white, you could even use patterned scrapbook paper.
How To Create –
1. Generously spray water all over your card stock.
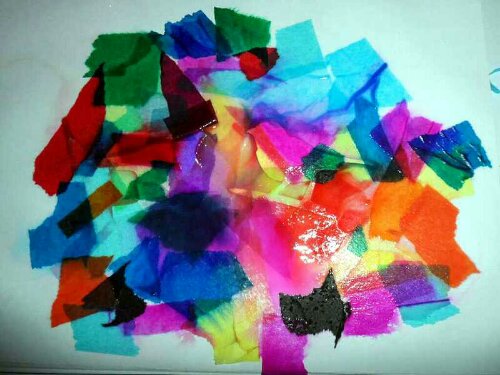
2. Working quickly layer a variety of coloured tissue paper pieces across the card surface.
For best results: make sure you keep overlapping the tissue papers and keep adding a mist of water over the top as you work, the more water you add the better the colour bleeds from the tissue paper.
At this point it will look something like this:
3. Once you’ve covered the card with tissue paper, take another sheet of plain white card and place it directly over the top of the wet tissue paper to create a sandwich.
4. Run your fingertips across the back of the card to press them together then set it aside to dry.
The longer you leave it to dry the better the colour bleed results.
I checked after 4 hours and was happy with the results, but for most of the backgrounds I left it to air dry naturally overnight.
5. Once the background is dry, separate your card sandwich and collect all the tissue papers together to use in a future project (I have one to share with you!)
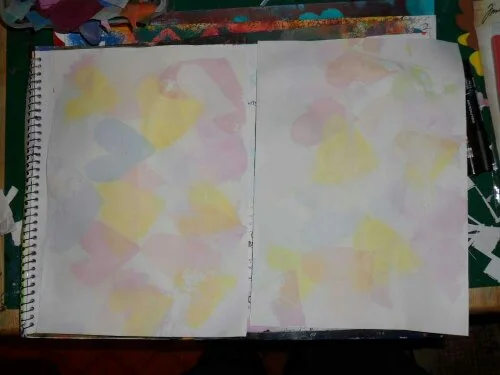
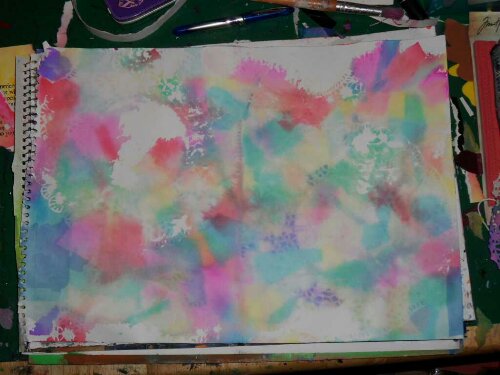
Because you created a card sandwich you will end up with not one, but 2 beautiful colourful watercolour backgrounds!
Each background is unique, you can make up a stash in one session to use in future projects.
Here are a couple of mine :
Make Over Tips For Tissue Paper Bleeding Technique:
- Tissue Paper Shapes Watercolour:
Cut shapes from tissue paper for a themed background, for example hearts or circles:
Before:
After:
- Die Cut Ghosting Effect:
Place die cuts onto the card stock before you layer with tissue paper to create both a shaped ghosted area within your finished background and also a gain watercolour die cut shape afterwards!
Before:
After:
Before:
After:
More die cut backgrounds:
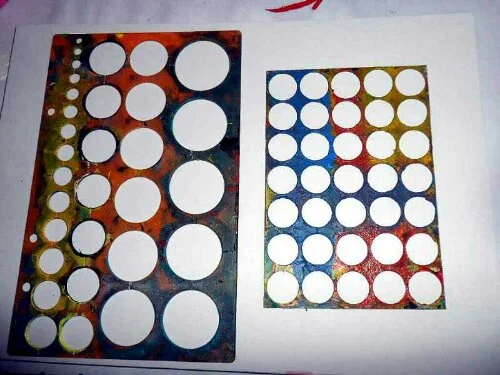
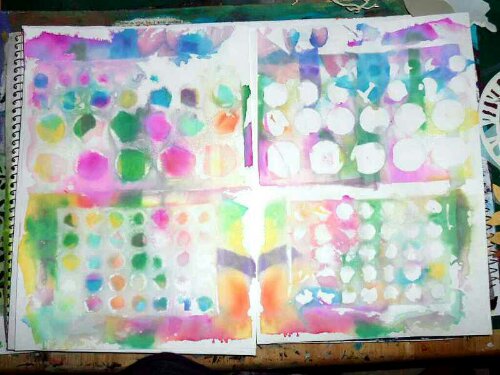
- Stencil Ghosting Tissue Paper Background Technique:
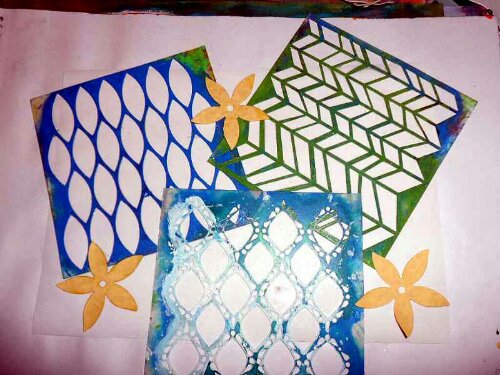
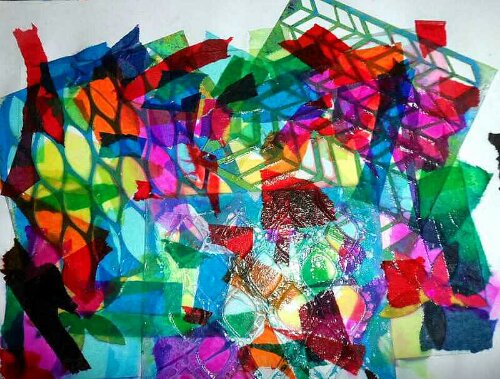
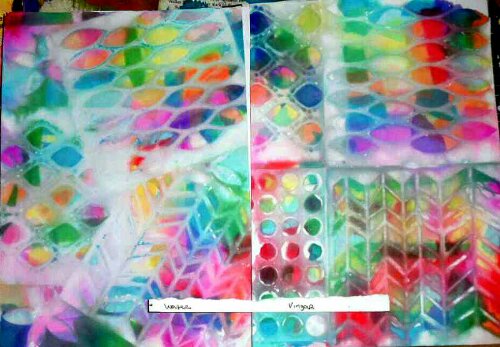
Use your stencils to create a ghosted white out area in your background, the beauty of this is that you can create both a positive and negative effect from the stencils!
Simply spray the card with water first, layer stencils over the top, spray more water and then layer over your tissue paper.
Make sure you cover the entire design, use your fingertips to poke the tissue into the smaller areas of the design.
Before Tissue:
With Tissue Paper:
Background Result:
Another Stencil Background:
1:
2:
3:
- White Vinegar Tissue Paper Bleeding:
Instead of using water on your background you can use distilled white vinegar, this results in a more vibrant colour bleed effect as you can see from the background samples below:
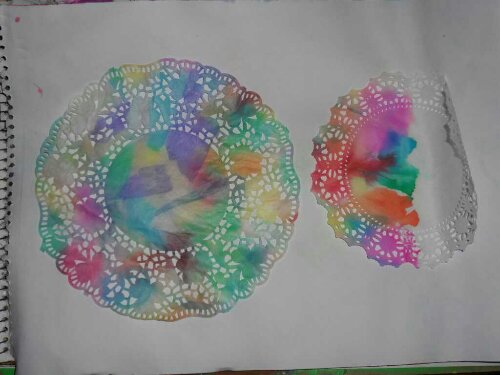
- Tissue Paper Bleeding With Doileys:
You can dye paper doileys (and anything else made from paper for that matter!) using this technique as you can see from the examples below:
Background created with the doileys:
- Crumpled Tissue Paper Bleeding Backgrounds:
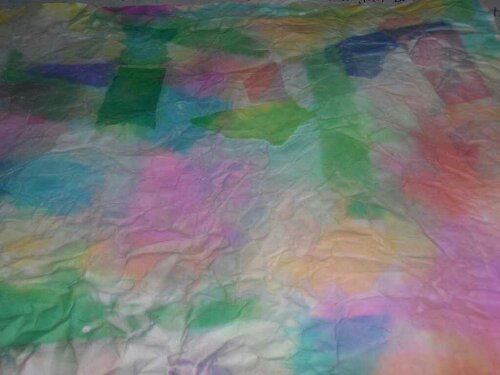
If you completely wet the sheet of card stock it allows you to crumple the sheet very easily, just keep spraying water over the top until your happy with the crumpled effect.
Before:
After:
More Make Over Tips Coming Soon!
Subscribe to this blog to be notified when I add more content!
Share Your Creations!
If you have been inspired to create backgrounds or art work using this technique why not link up your creations using the linky tool below:












Pingback: Watercolour Tissue Art Journal Page | Trish Bee's Art-Venture
Love this technique.
This is great!!! Haven’t thought about bleeding tissue paper in a long time. I love the result with the stencils!!!!
Pingback: Handmade Watercolour Doiley Cards | Trish Bee's Art-Venture
Wow! Thanks for the how-to info. The polka dots are my favorite.
oh, i love these. what beautiful backgrounds you now have. i love than all but my favs are the ones with the stencils. many moons ago (10 years at least) i bought a pack of art tissue for just this purpose. you have got my mind going, wonder where that paper is now? tfs
love it
What a wonderful technique, thanks so much for sharing. I’m thinking it will look lovely with analogous colours as well as with so many mixed up ones like you’ve used. The stencils and the doily are my favourites.
Thanks Trish – this is very helpful.
I’ve just played with making backgrounds with the torn tissue. I love your variations.
I’ve just played with making backgrounds with the torn tissue. I love your variations.
Oooh have you put them online anywhere so I can peek 😀
Pingback: Easy 3 Step Tissue Paper Masking Tape Tutorial | artrospectives
WOW Love this technique. Completely forgot about the tons of tissue I have. Thanks for the inspiration.
Pingback: Two Cards Made From Tissue Backgrounds | Trish Bee's Art-Venture
Pingback: More Handmade Cards Using Tissue Paper Backgrounds | Trish Bee's Art-Venture
WOWSIE thank you so much for these tutorials using the bleeding tissue paper. I cannot wait to get started. I purchased bleeding tissue a while back and then never did anything with it. I surely will today.
hi, i am looking for bleeding colour tissue paper and was wondering where i could get this graphics paper ?
Try the childrens craft section at your local craft shop, thats were I get mine from.
i will do, many thanks.